Ankle sprains can occur during a run such as when a foot hits an uneven surface. They can also be suffered when jumping high for a basketball rebound or volleyball spike and then landing on the foot of another player. They are also known to occur while walking if care is not taken in regards to the surfaces walked upon.
Inversion/Eversion Differences and Severity Grades
When the foot turns inward so much that the ligaments on the outside of the ankle are extended too much, an inversion injury occurs. Conversely, when a foot turns outwards, causing damage to the ligaments on the inside of the ankle, an eversion injury takes place.
A grade I sprain involves minor strain and no tear. Conversely, grade II indicates a partial tear, and someone diagnosed with a grade III sprain has suffered a full tear. Note that a grade II sprain often causes more pain than a grade III one despite not being as serious as the latter.
Immediate Treatments
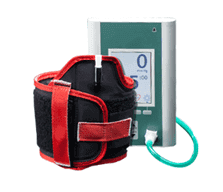
The first thing that should be done following a sprain is RICE, which is also known as rest, ice, compression and elevation, as the ankle will likely be swelling to a considerable size at this point, and that needs to be managed. Anti-inflammatory medication should be considered as well. Giving the ankle a complete rest by not walking or walking as little as possible may need to be undertaken as well to ensure a quick recovery. In most cases, these steps should be taken over the initial 24-72 hours following the injury.
Rehab
Regaining a sense of balance and restrengthening the ankle are important during the recovery stage. These things can be done via a variety of exercises.
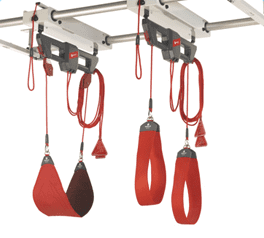
• Push the foot outwards, preferably with a pully or something else that provides some added tension. • Rotate your ankle in circles, once again preferably with a device that provides an increased amount of tension. • Move the ankle around a small rubber ball, up and down, back and forth and in circles. • Step onto a BOSU ball and do similar ankle exercises but with your body weight playing a role this time. • The BOSU ball or similar device can also be used to increase the impact of lunges on the ankle and other impacted body parts.
Make sure that care is taken when undertaking these rehab exercises.
Recovery Time
Depending on the severity of the sprain, the pain and swelling will generally go down within a few days. At this point, rehab exercises listed above should be considered while continuing to use the RICE method of recovery.
A grade I sprain generally takes about three weeks for a full recovery, a grade II sprain will take about twice as long, six weeks, before the ankle is back to normal while a grade III sprain lasts roughly 10 weeks before the ankle is fully recovered.
Get Professional Help
Make sure to take advantage of a medical professional so that the severity of the ankle sprain can be understood as well as which rehab exercises should be undertaken at what point of the rehab process.
Also consult a medical specialist if swelling or not having full mobility is not completed within a couple weeks of those general timelines noted above.
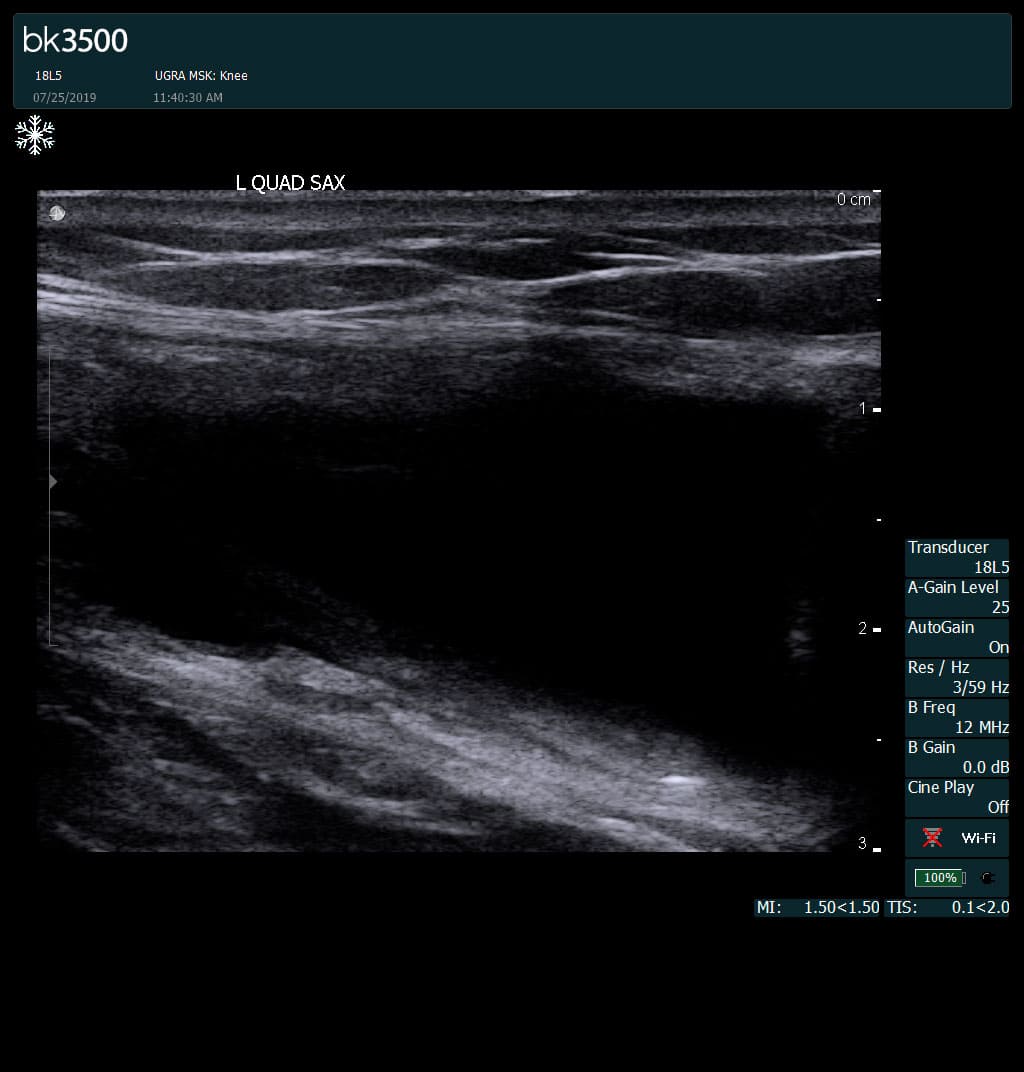
In this instance, an athlete was originally diagnosed with minor quadriceps muscle strain and was treated for four weeks, with unsatisfactory results. When he came to our clinic, the muscle was not healing, and the patients’ muscle tissue had already begun to atrophy.
Upon examination using MSUS, we discovered that he had a full muscle thickness tear that had been overlooked by his previous provider. To mitigate damage and promote healing, surgery should have been performed immediately after the injury occurred. Because of misdiagnosis and inappropriate treatment, the patient now has permanent damage that cannot be corrected.
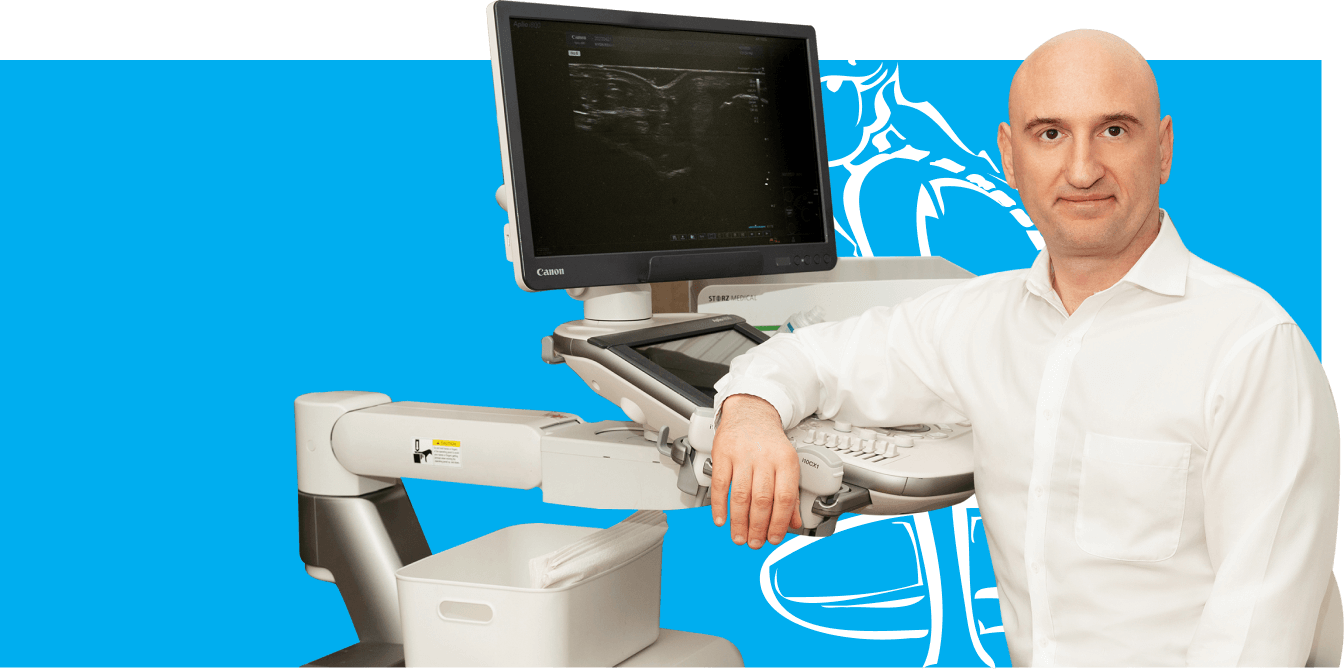
The most important advantage of Ultrasound over MRI imaging is its ability to zero in on the symptomatic region and obtain imaging, with active participation and feedback from the patient. Using dynamic MSUS, we can see what happens when patients contract their muscles, something that cannot be done with MRI. From a diagnostic perspective, this interaction is invaluable.
Dynamic ultrasonography examination demonstrating the full thickness tear and already occurring muscle atrophy due to misdiagnosis and not referring the patient to proper diagnostic workup
Demonstration of how very small muscle defect is made and revealed to be a complete tear with muscle contraction under diagnostic sonography (not possible with MRI)
Complete tear of rectus femoris with large hematoma (blood)
Separation of muscle ends due to tear elicited on dynamic sonography examination